In this tutorial, we will show you how to print a test page in Windows 11 without using any third-party tool. This can come in handy to check the alignment issue, ink flow for text and image quality, etc., before you start printing straight away, especially with a new printer. Though there exist some good free tools to test your Printer, Windows 11 provides built-in ways to print a test page. So, for those who prefer native options, this post will be helpful.
You will get a meaningful output as the test page will provide technical information about the printer which includes printer properties (name, port name, computer name, OS Environment, etc.), print driver properties, and more.
Let’s check both options one by one.
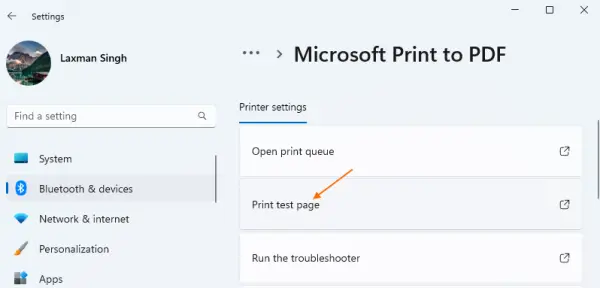
Follow these steps to print a test page using Windows 11 Settings app:
The page will be added to the printer queue and then the test page will come out. Now you can check if your printer settings are OK. If not, adjust or change the printer’s default settings and print a test page again.
Almost all applications (Office apps, browsers, desktop programs, etc.) come with a Print option that you can access from the File menu to take a print of your document. Use that option or press the global hotkey Ctrl+P in an application. This will open the Print settings where you can select your printer, set the number of pages to print, page margins, page size, and more, and then hit the Print button.
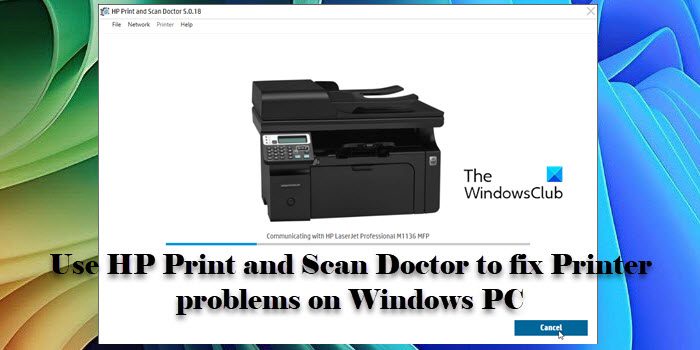
If you try to print a document or a test page in Windows 11/10 and the computer freezes when printing, then use Windows built-in Printer Troubleshooter and see if it helps. You should also restart the Print Spooler service or launch the print application with admin permissions. If this doesn’t work, then you should reinstall the printer. If you installed and configured your printer correctly, you won’t have any issues while printing.
Updated on January 18, 2023 Tags: Printer
Laxman has done Bachelor's in Computer Science, followed by an MBA. Writing about Windows OS and the free software and services that are available for the Windows operating system is what excites him.